


Fender dent repair addresses common automotive damage caused by accidents. Minor dents can be DIY'd with proper tools like dent pullers and putty, but severe cases require professional collision services for precision and safety. This guide offers a comprehensive approach, assessing dent severity and providing techniques from paintless dent repair to traditional body filling and painting methods.
“Fender dent repair is a skill every car owner should know, as it not only saves costs but also ensures your vehicle’s aesthetics. This comprehensive guide delves into the common causes of fender dents and provides a detailed step-by-step approach to efficient dent removal. From understanding dent damage and gathering the right tools and materials to mastering the repair process, this article equips you with everything needed for successful fender dent repair.”
- Understanding Fender Dent Damage and Causes
- Tools and Materials for Repair
- Step-by-Step Guide to Efficient Dent Removal
Understanding Fender Dent Damage and Causes
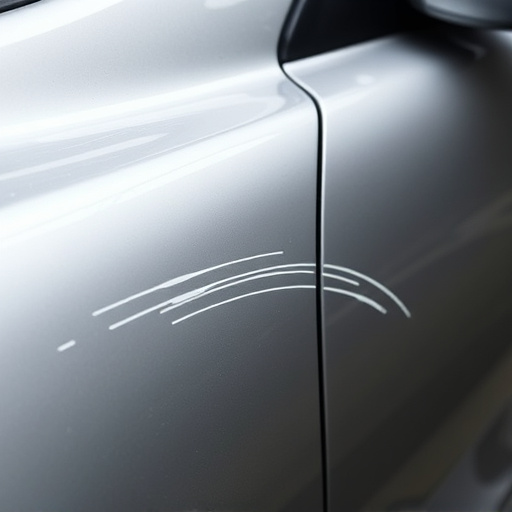
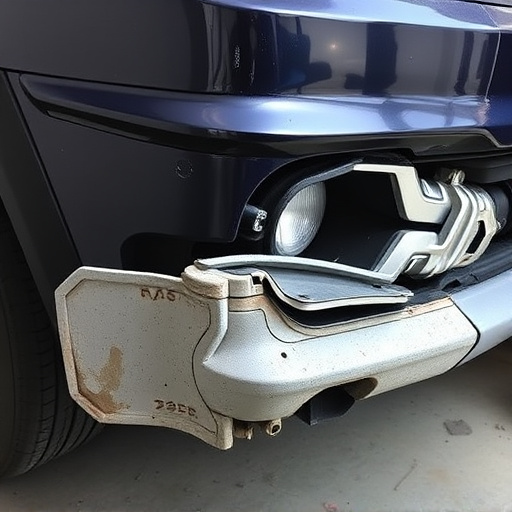
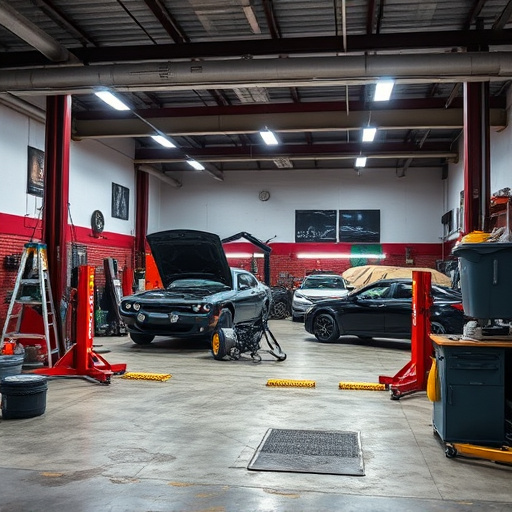
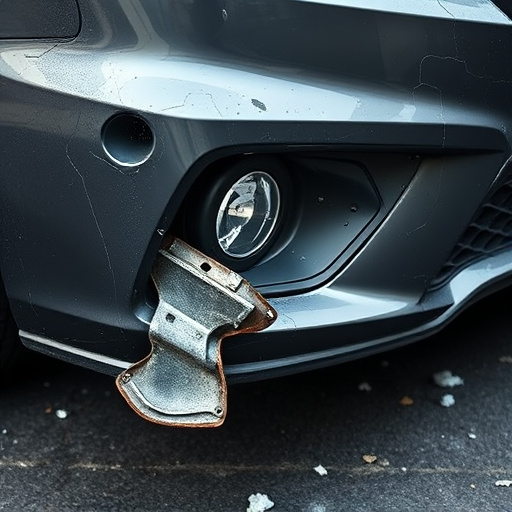
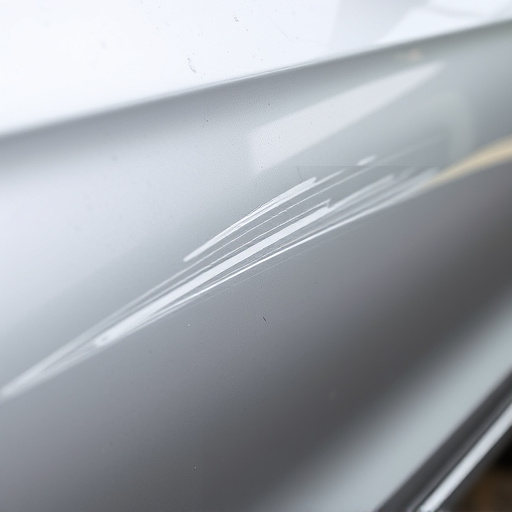
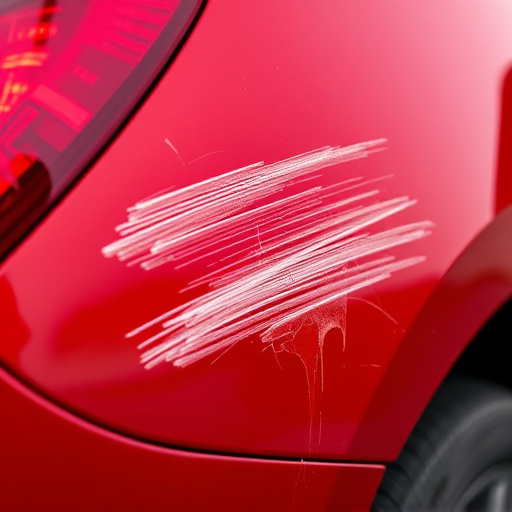
Fender dent damage is a common issue that can arise from various incidents, such as car collisions, parking mishaps, or even minor road debris. Understanding the causes behind these dents is the first step in effective fender dent repair. In automotive collision repair, impacts can cause significant deformities in the metal, leading to unsightly bulges and dings. These collisions may occur during accidents with other vehicles, striking fixed objects like guardrails, or even a simple bump against a parking post.
Car damage repair due to such incidents often requires skilled techniques to ensure precision and structural integrity. Minor fender dents can sometimes be addressed using DIY methods, but for more severe cases, professional car collision repair services are recommended. Proper fender dent repair not only restores the aesthetic appeal of the vehicle but also ensures that all components remain safe and functional, preventing further complications in future drives.
Tools and Materials for Repair
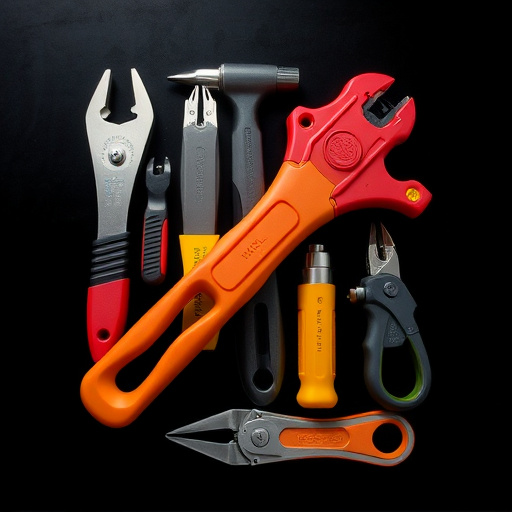
For successful fender dent repair, gathering the right tools and materials is essential. This process requires a combination of both standard automotive tools and specialized dent removal kits. Start by investing in a good quality dent puller, which is a key tool for gently removing dents from the vehicle bodywork. These tools come in various sizes and shapes to accommodate different types of dings and creases. Additionally, you’ll need a set of pry bars or plastic hammers designed for car repair shop use; these aid in carefully lifting and shaping the metal without causing further damage.
Don’t forget the importance of protective gear: safety glasses and gloves are must-haves to safeguard against flying debris during the repair process. The right materials, such as dent putty or composite filling compounds, will ensure a seamless finish once the dents are removed. These compounds come in various colors to match your vehicle’s body paint, ensuring a discreet repair that blends seamlessly with the rest of the car’s bodywork. Having these essentials on hand allows you to tackle multiple fender dents effectively, bringing your vehicle back to its pre-damaged condition.
Step-by-Step Guide to Efficient Dent Removal
Removing dents from your fender is a skill that can be learned and mastered with practice. Here’s a step-by-step guide to help you achieve efficient fender dent repair:
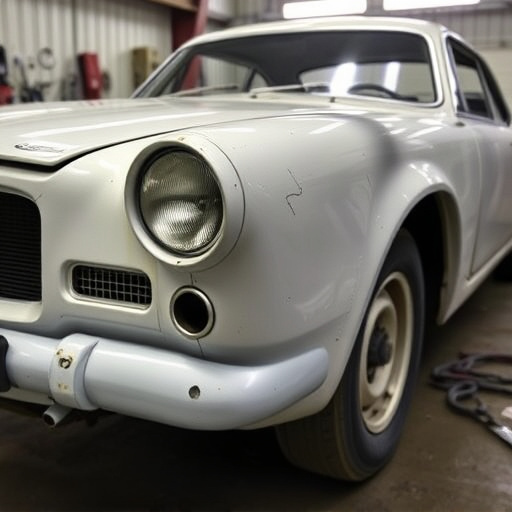
1. Assess the Damage: Before starting, carefully examine the dent to determine its size, depth, and location on the vehicle. This will influence your chosen repair method. For minor dents, consider paintless dent repair (PDR), which involves using specialized tools to push out the dent from behind the panel without damaging the paint job. More extensive dents might require a more traditional approach with body filling and painting.
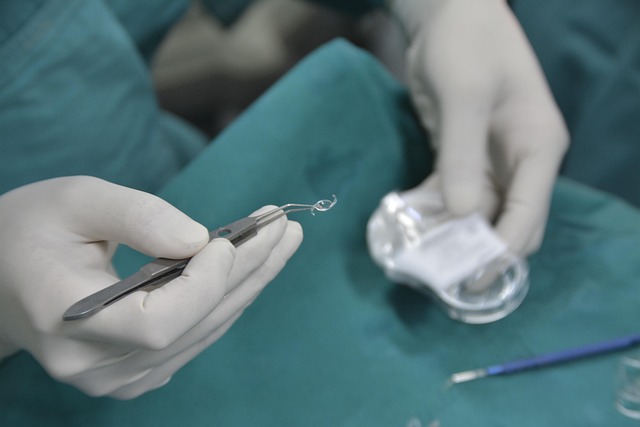
2. Gather Your Tools: Depending on the severity of the dent, you’ll need different tools for auto body repairs. For PDR, invest in a good set of dent removal tools like ball-peen hammers, metal picks, and rubber mallets. If painting is involved, ensure you have the right paint matching your vehicle’s color, along with applicators, sandpaper, and protective gear.
3. Remove any Debris: Clear away any loose dirt or debris from around the dent using a soft brush or compressed air. This step ensures a clean surface for repair work.
4. Apply Heat (if necessary): For deeper dents, applying heat with a heat gun can help relax the metal and make it easier to remove. Be careful not to overheat, as this could damage the paint or even distort the metal.
5. Use PDR Tools (for suitable dents): If using PDR, insert your pick into the dent from behind the fender panel. Lever the tool to start lifting the dent. Use your mallet to gently tap on the pick, gradually working around the edge of the dent to free it. Be patient and careful not to damage surrounding panels.
6. Alternative Methods: If PDR isn’t an option or doesn’t work effectively, consider using body filling compounds and sandpaper for more significant dents. This process involves removing the dented panel, filing down the damaged area, applying filler, and then sanding and painting to match the original finish.
Fender dent repair is a feasible DIY project for those willing to invest time and effort. By understanding the causes of dent damage, gathering the right tools and materials, and following a systematic approach, you can efficiently remove multiple dents from your vehicle’s fenders. This article has provided a comprehensive guide, from identifying common causes to performing the actual repair, empowering you to achieve a smooth and pristine finish on your car’s fenders.